
How to make a cotton throw for your sofa in an hour?
- Rustic Origin
- Jul 11, 2022
- 2 min read

Updated: Jul 13, 2022

I strongly believe that one does not necessarily have to spend loads of money to do a quick make over of one's living room. For example, just adding some throw cushions and a blanket can totally change the look of your sofa. If you love DIYs then this post is for you. I am sharing a step by step process of how to make a cotton throw in an hour. There is also a video tutorial see below . This throw is very simple and easy to make, you don’t have to be a sewing or embroidery expert. I used easy and versatile back stitch but you can use simple running stitches too.
Materials required
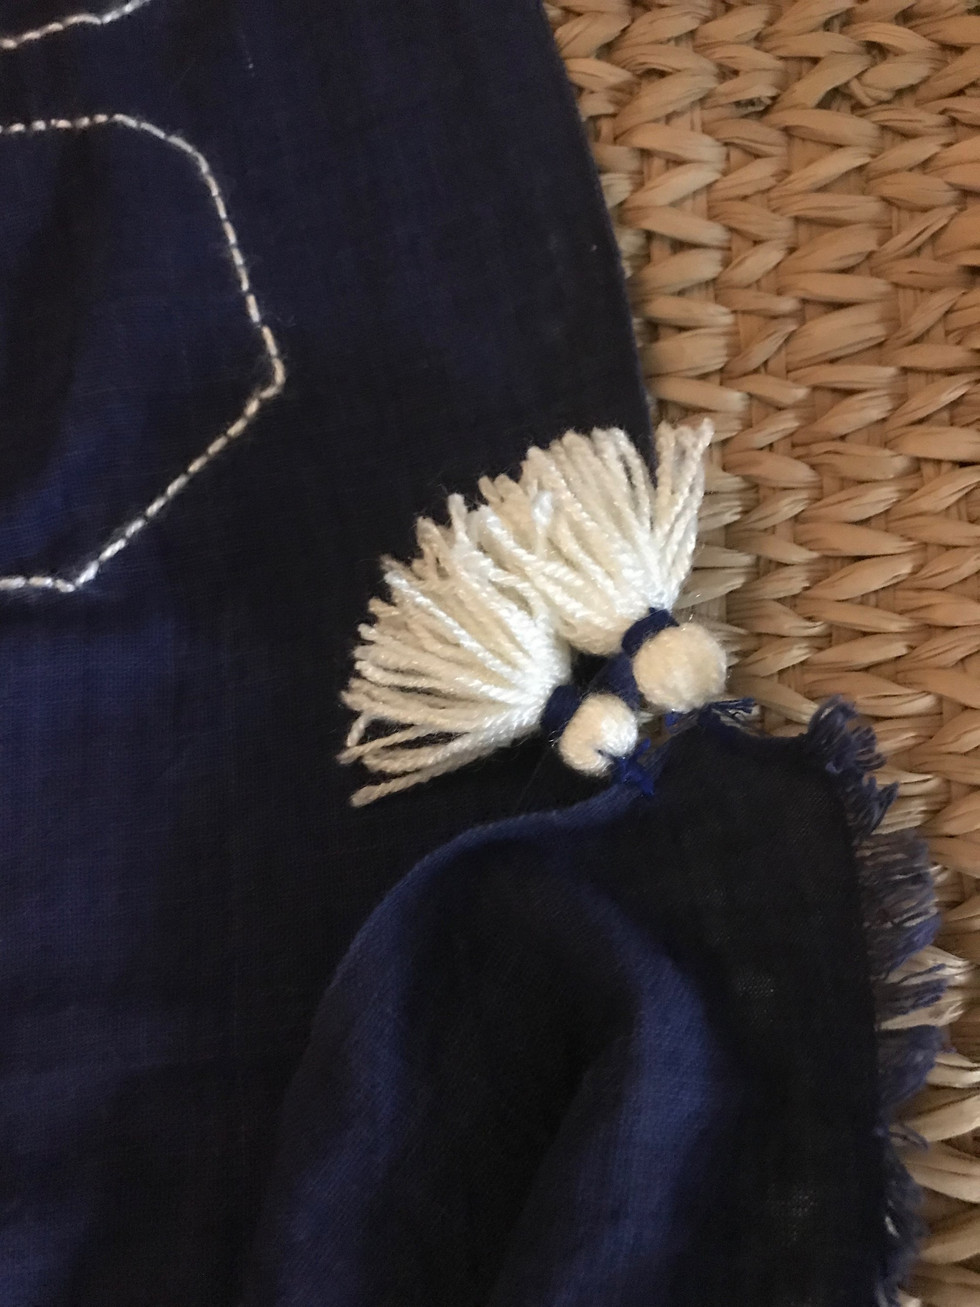
Fabric - I used Thai indigo cotton fabric
Chalk (or contrasting invisible/washable ink pens)
Scissors
Wool yarn
Cardboard cutouts - I used basic geometrical shapes
Process
The first step is to measure the fabric and cut it according your requirement. I choose 80 x 40 inches size, which I found perfect for both three seater as well as two seater sofas.
Draw the outlines of your shapes with a chalk. I used mix of triangles, circles and hexagonal shapes.
Start the embroidery process. I decided to use backstitch - a method of sewing with overlapping stitches. This is the most common outline stitch, and I used it for two reasons:
firstly it gives a nice smooth, continuous line and
secondly I like how it looks from the other side too. (By the way, if you do it neatly, the throw can become reversable and used both sides)

Note: Using wool yarn instead of cotton yarn helps (especially for beginners) as it is easier to handle and the process is therefore becomes faster.
The edges: I utilized the whole width of the fabric and so the edges along the width did not not require any work. However, on the two ends of the length of the fabric where I had cut the length to size, I had to decide what I wanted. I did not want to hem or fold and sew the length ends of the fabric as I wanted a natural flow. I therefore decided to allow about half inch frays on the two ends.

I used a simple machine stitch at the ends of the two lengths to prevent them from fraying further.
Attach tassels on all four corners to finish the look….ta da your handmade throw is ready


Comments